It's not very often that I take some time of my own, but lucky me today and yesterday!
Let's start with an easter card! Ha ha ha ;) I just needed to use the chicken wire!
AND I used the new background rubber stamp "Småsplatter". I inked it with white Unicorn Pigment Ink from Hero Arts.

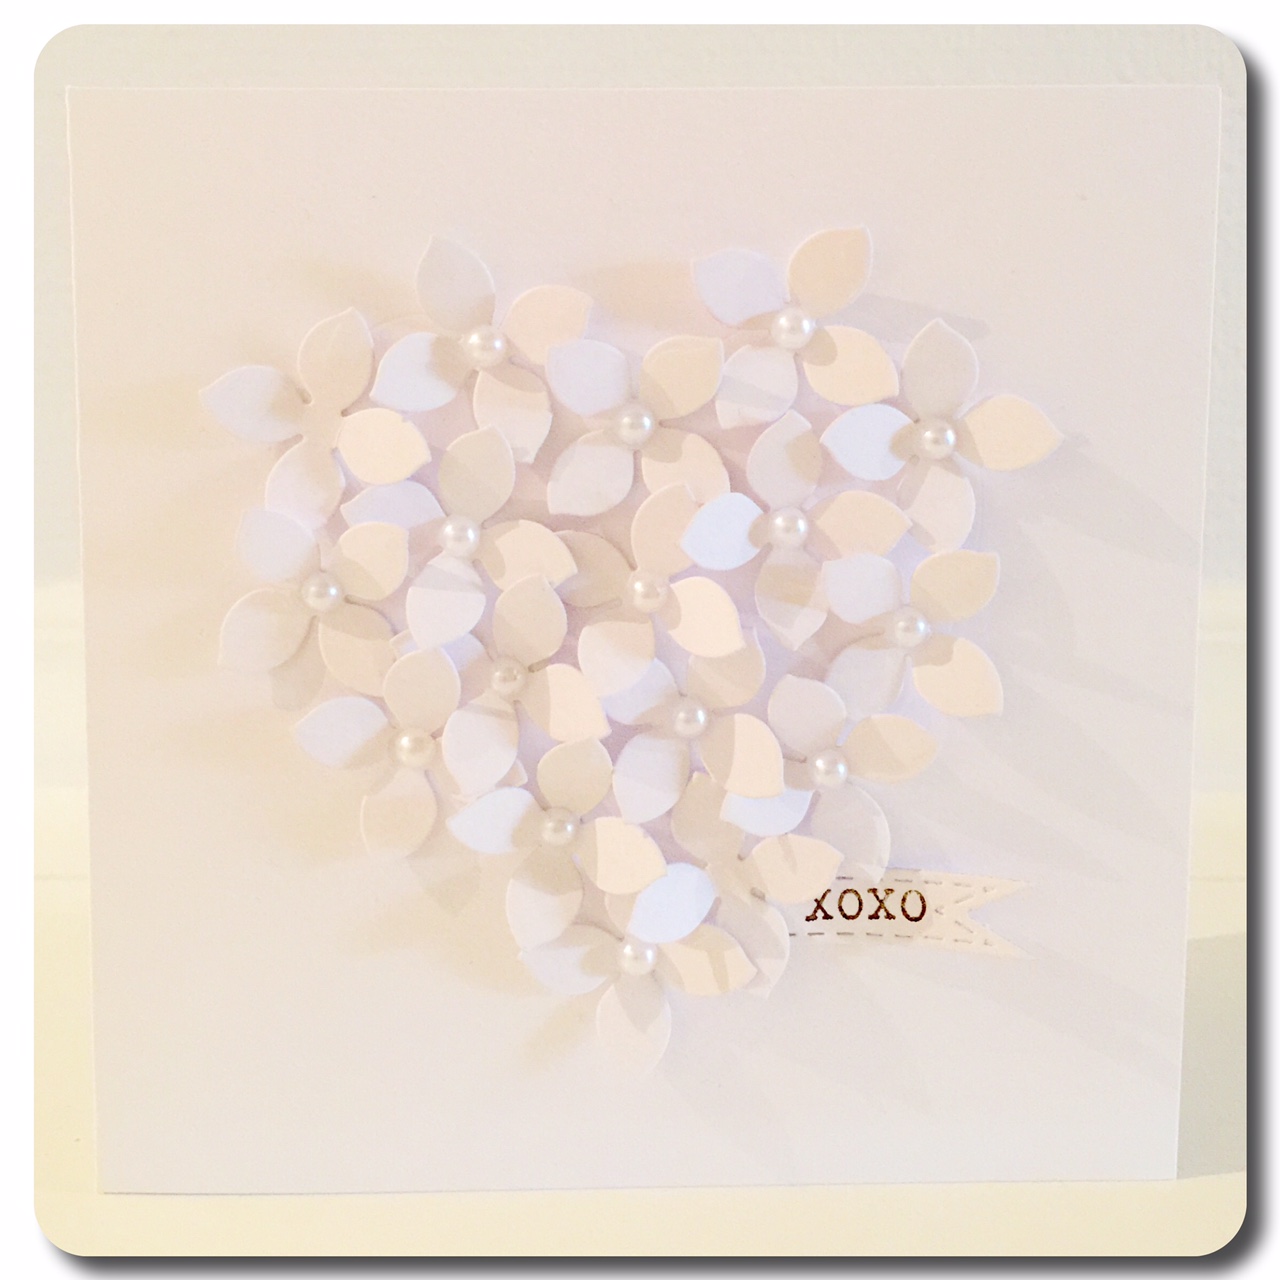
Then a card in total white! I love the simple flower die from the package with 5 sizes. It is so beautiful when you just mount a half bead in the centre.
An invitation card for a Danish friend! I like when the papers and/or the embellishments goes off the edge.

On this card I used the "Småsplatter" background again - but this time in turquoise.

This coneflower die is so easy to use! It works well with everything! I combined it with a very old text stamp that is still one of our best selling rubber stamps.

And of course we have made Lennart as a die :) He is soo cute, but a little tricky when you are about to glue him...
I have also used a flower die from the set with 3 flowers and the dies "Små kvistar".

And the inside of the card...

On this card I used the new flower die "Blomma", but I chose to cut of the stem. I also made an extra leaf and mounted it with distance so it looks 3D.

And now to my tutorial from Trelleborgs Träffen! This is how you make the SELF CLOSING BOX!
Cut a cardstock in size 20 x 19 cm.
Score one side at: 4,4 cm, 8,8 cm, 13,2 cm and 17,6 cm.
Turn the paper 90° to the right.
Score this side at: 5,5 cm, 6,5, cm, 8,7 cm, 10,9 cm and 17 cm.
Fold the scoring so it is easier to see.

Place the paper folded and mark the middle of the 4,4 cm squares.
Draw the triangles as seen on the picture above! Cut them out as seen on the paper under.

When you unfold it will look like this! The more exact you are, the better result you'll get when you close your box!
I stamped the lower part of my box, and then I cut out the rest of the lines that I have marked on my first picture. Your result should be like this:

Fold the top of the box to the front. Glue the side where I have stamped the coffee beans. Then glue the bottom.
The last thing that you glue is the last flip on the top. Don't glue it exactly in the folding. Make it bigger, otherwise you can't open and close your box!
I have hidden mine with striped paper - it is aslo a nice effect!
And here is my box:


A BIG THANK YOU to my friend Nurith for giving me this idea, and for all the help with it!
And also thank you to Petra who helped me with the workshop at Trelleborgs Träffen <3
I will end my blogpost with a graduation card :)

- - -
Jea
Inga kommentarer:
Skicka en kommentar